Blood Smearing
This an experiment in which we viewed our blood under a microscope, we were able to see the white blood cells and red blood cells
Safety
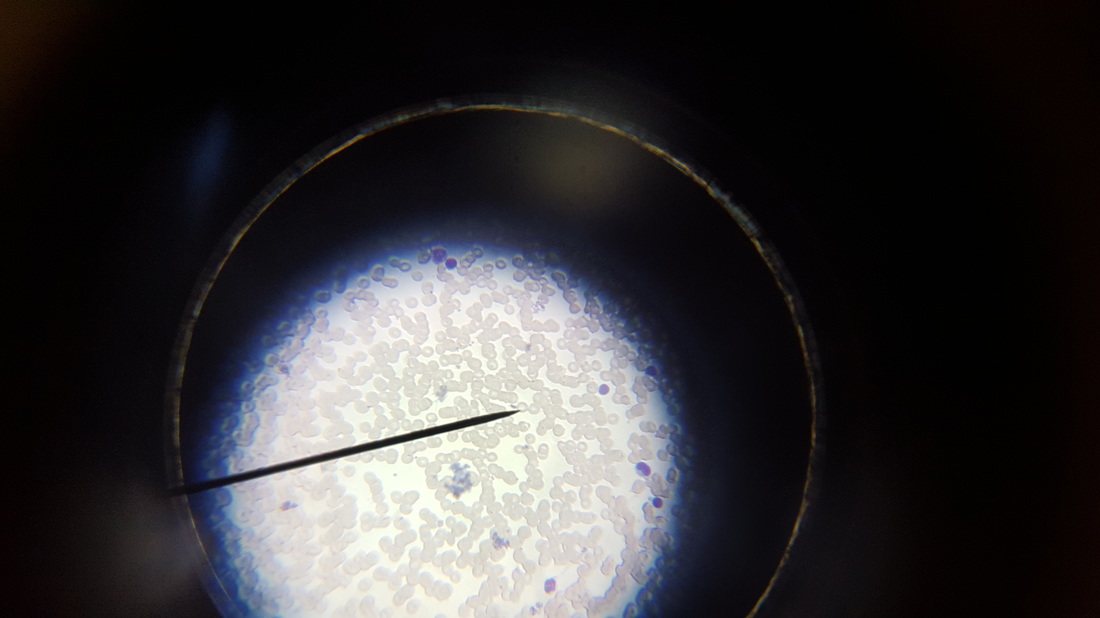
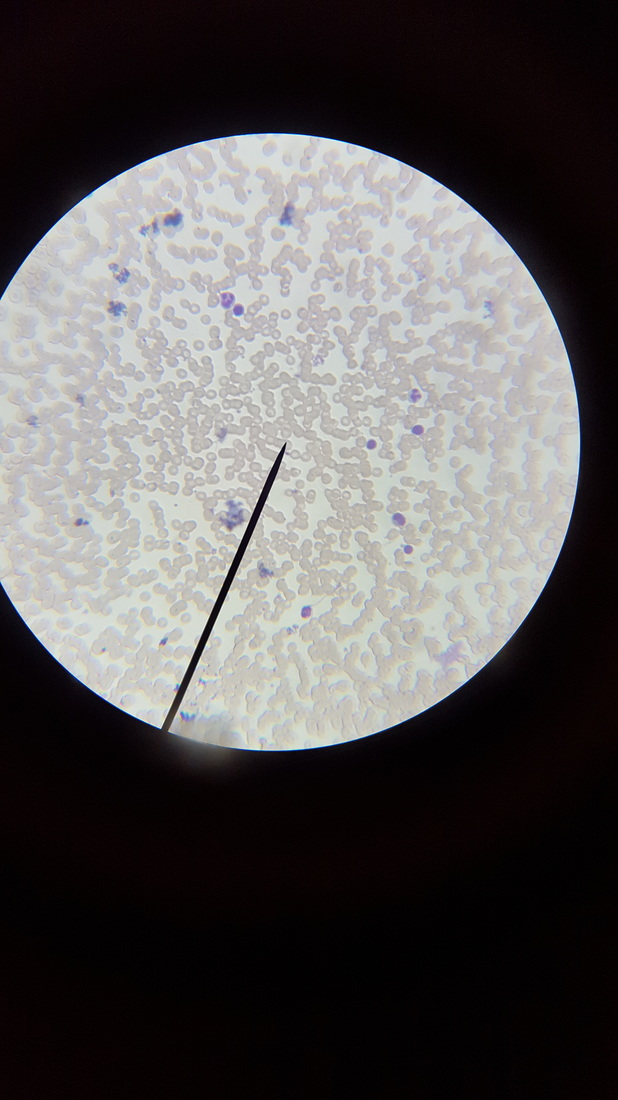
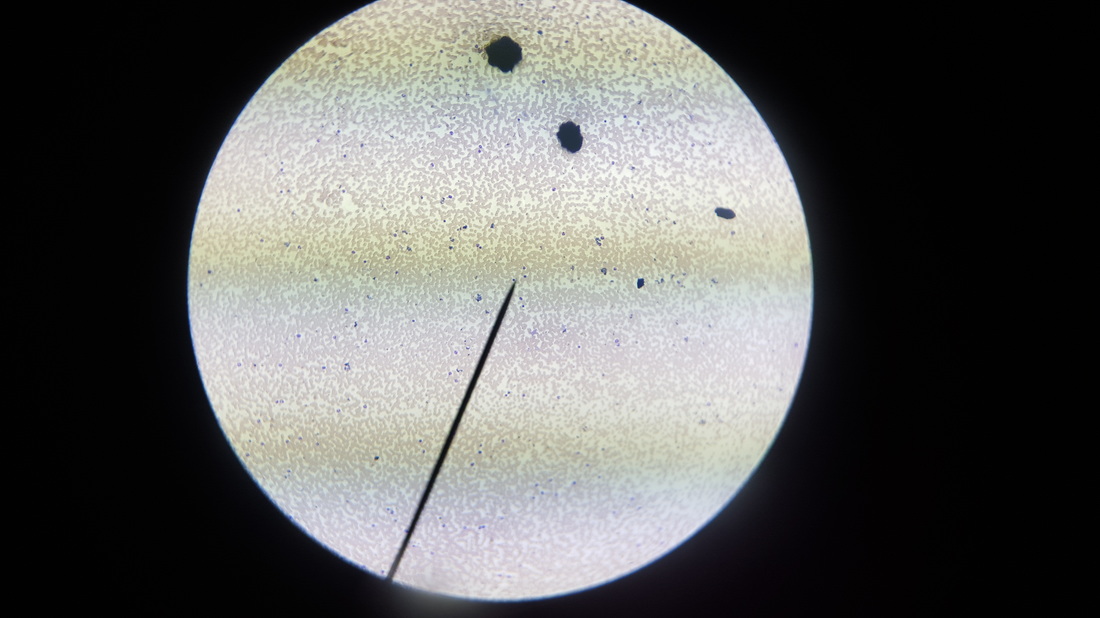
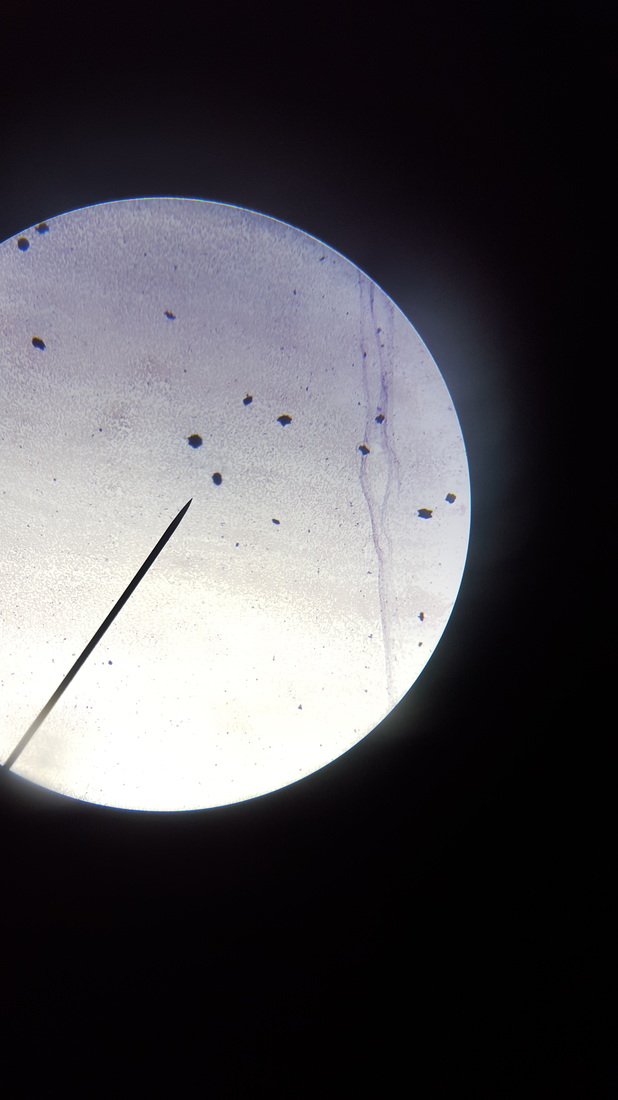
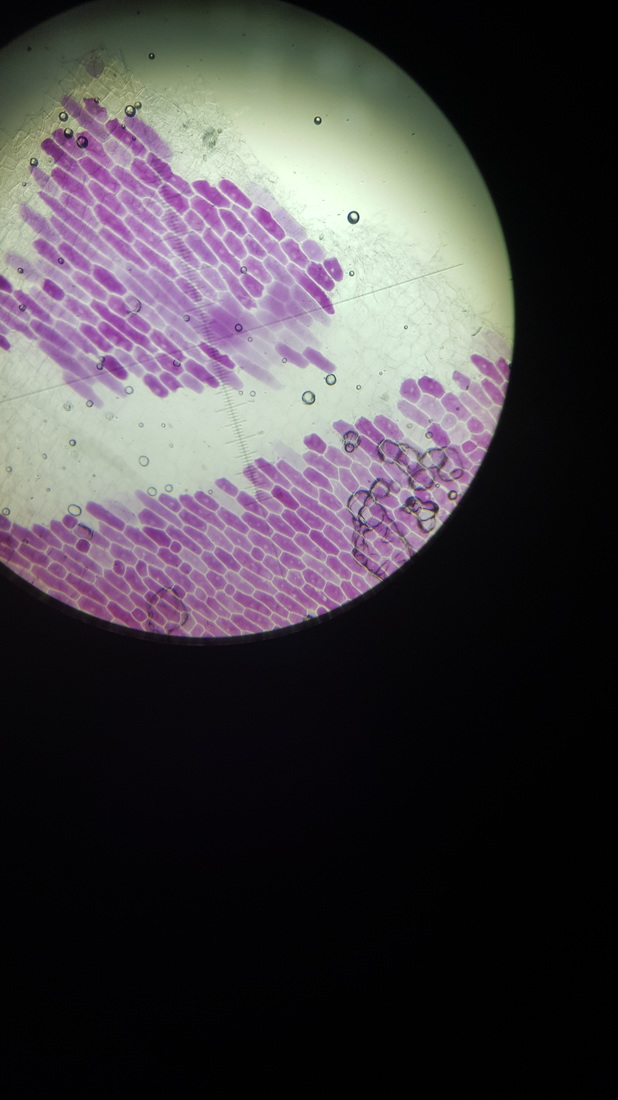
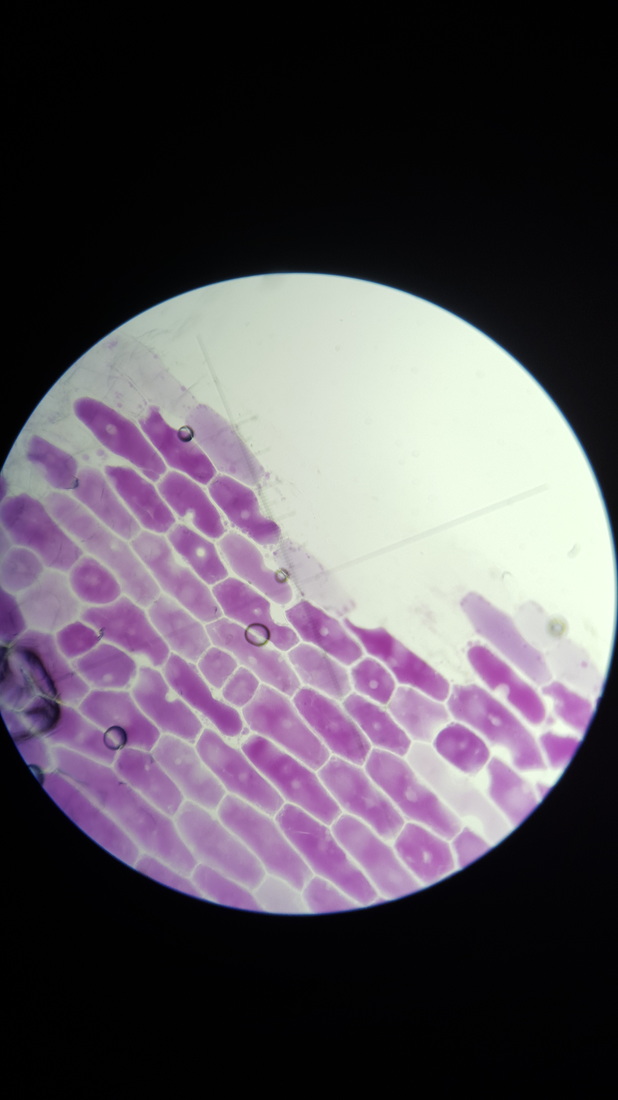
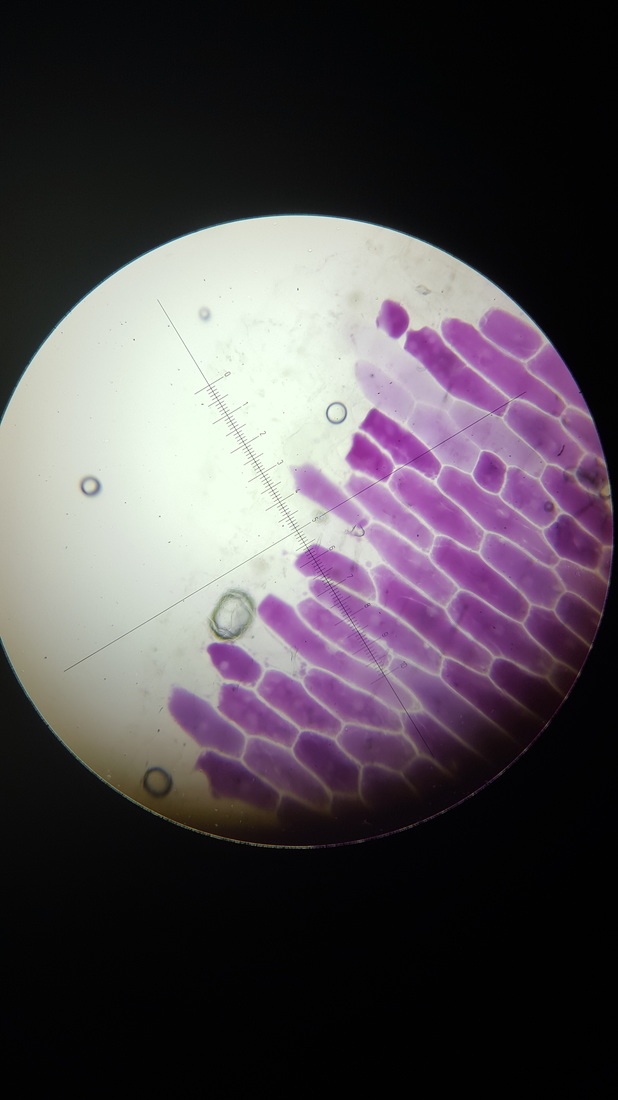
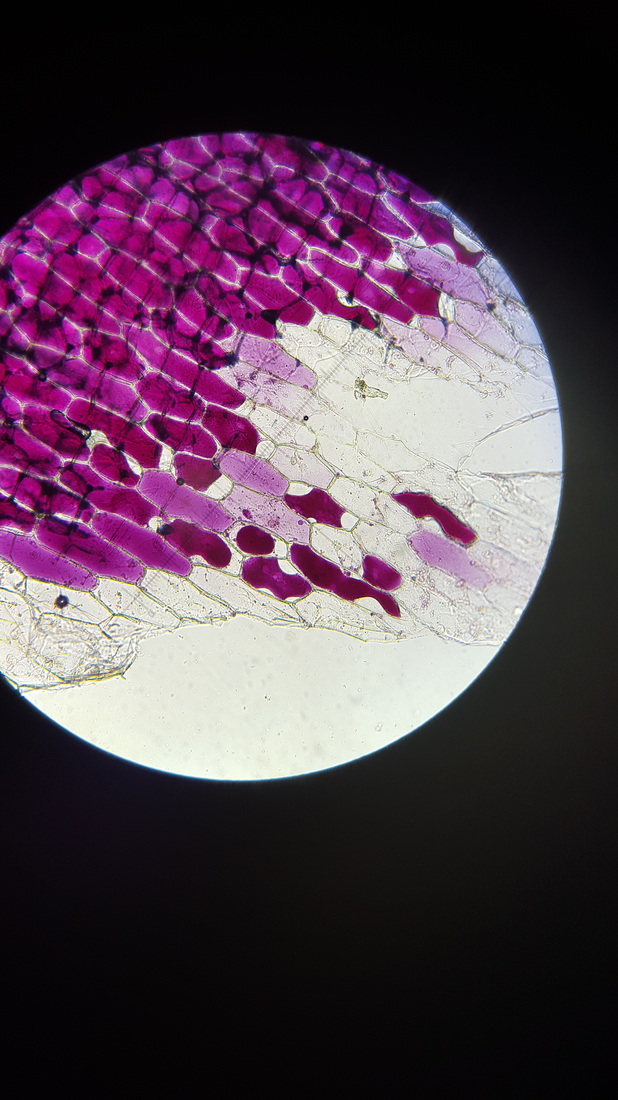
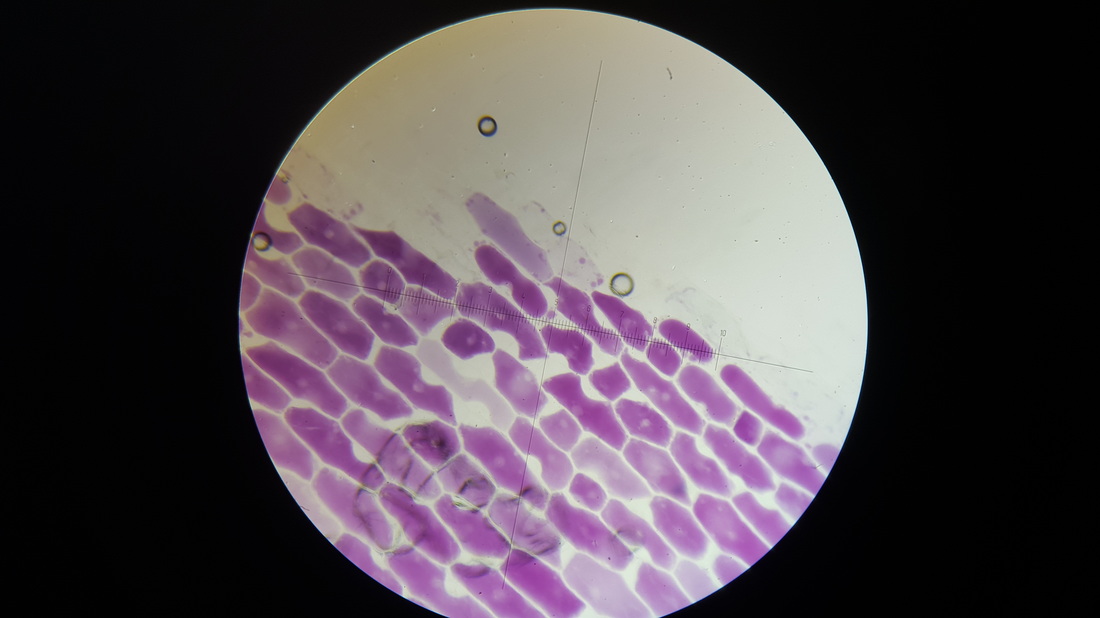
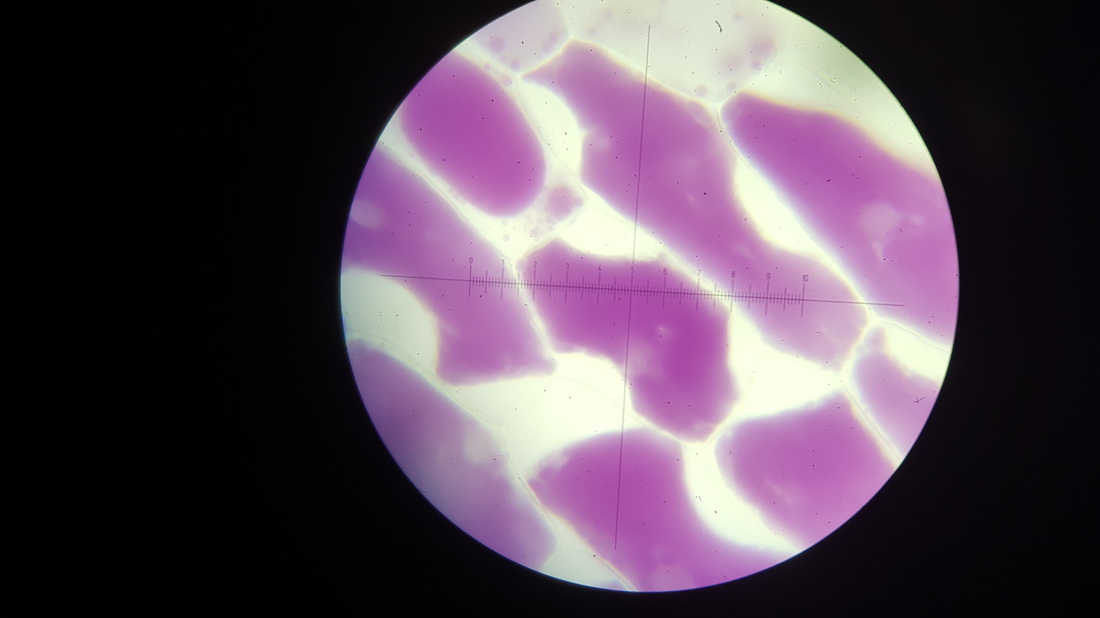
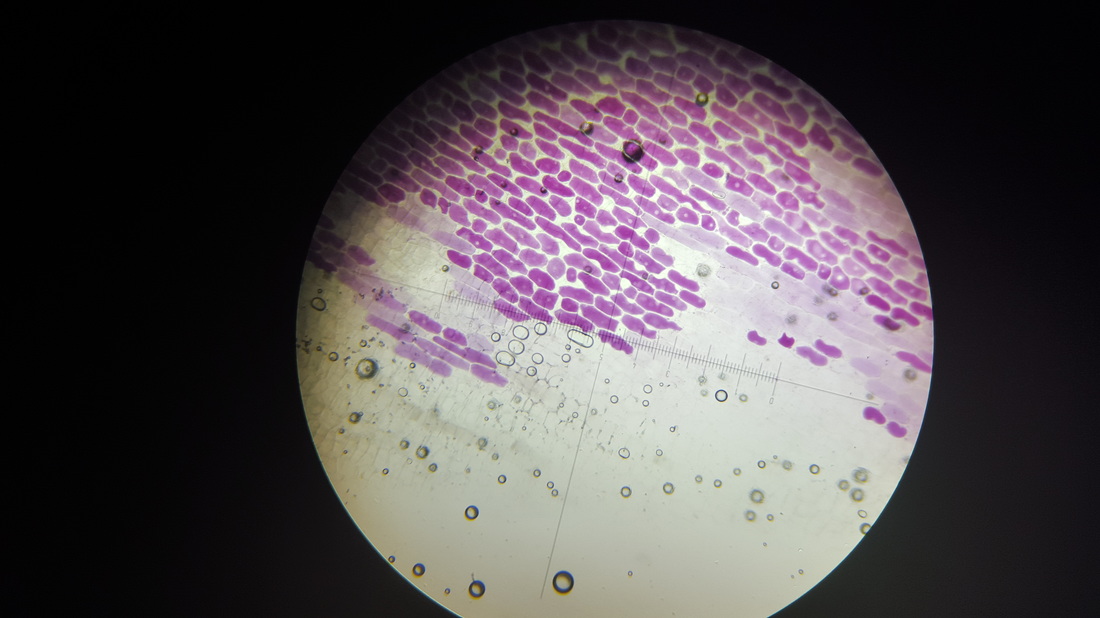
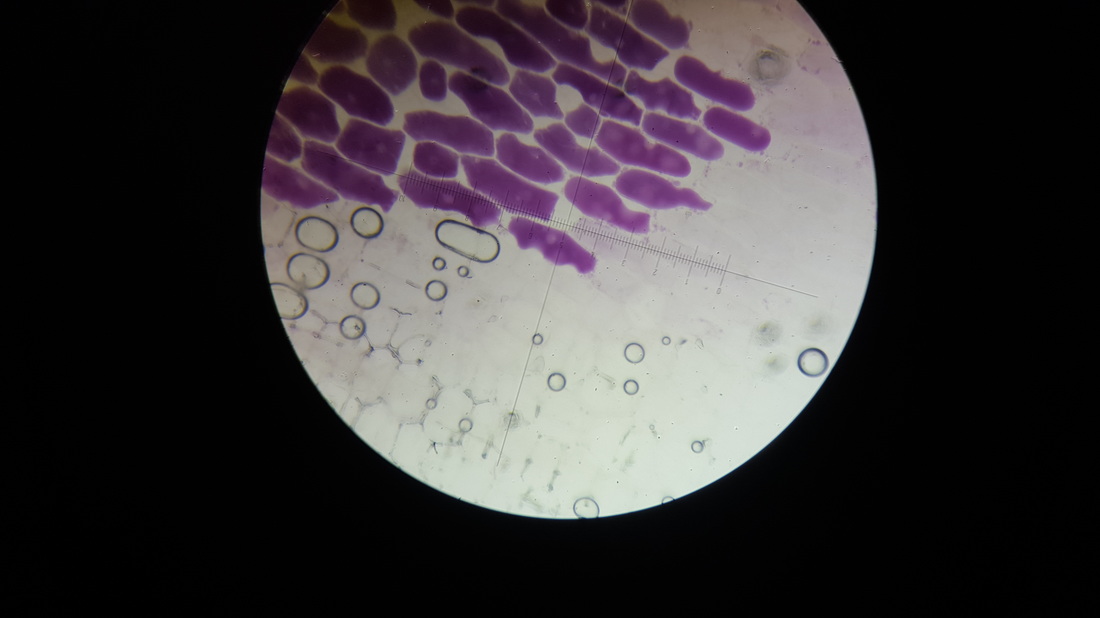
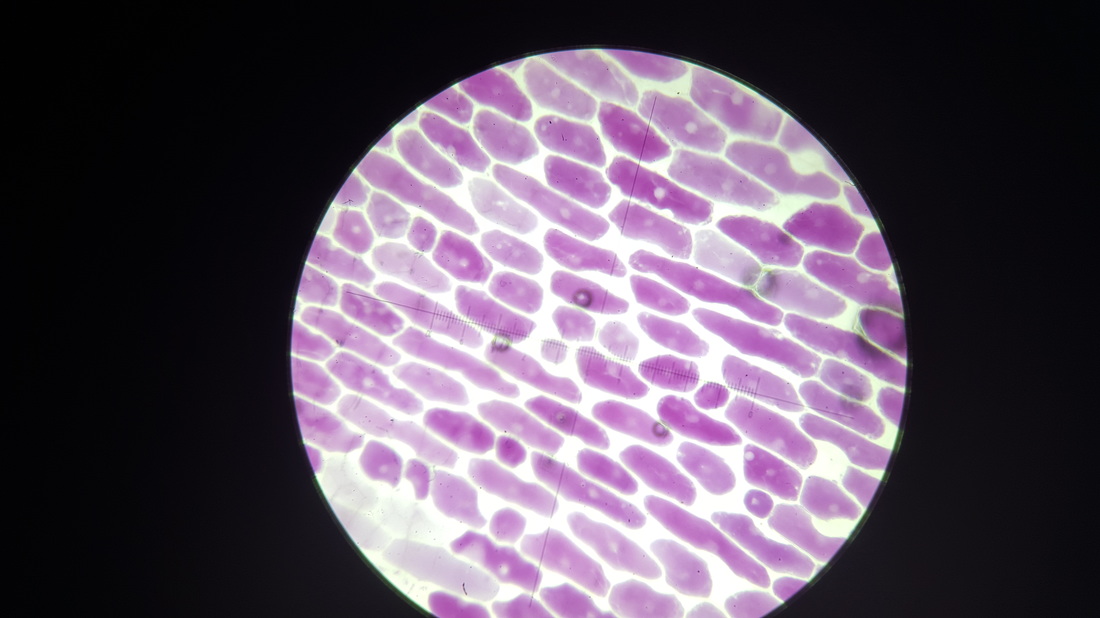
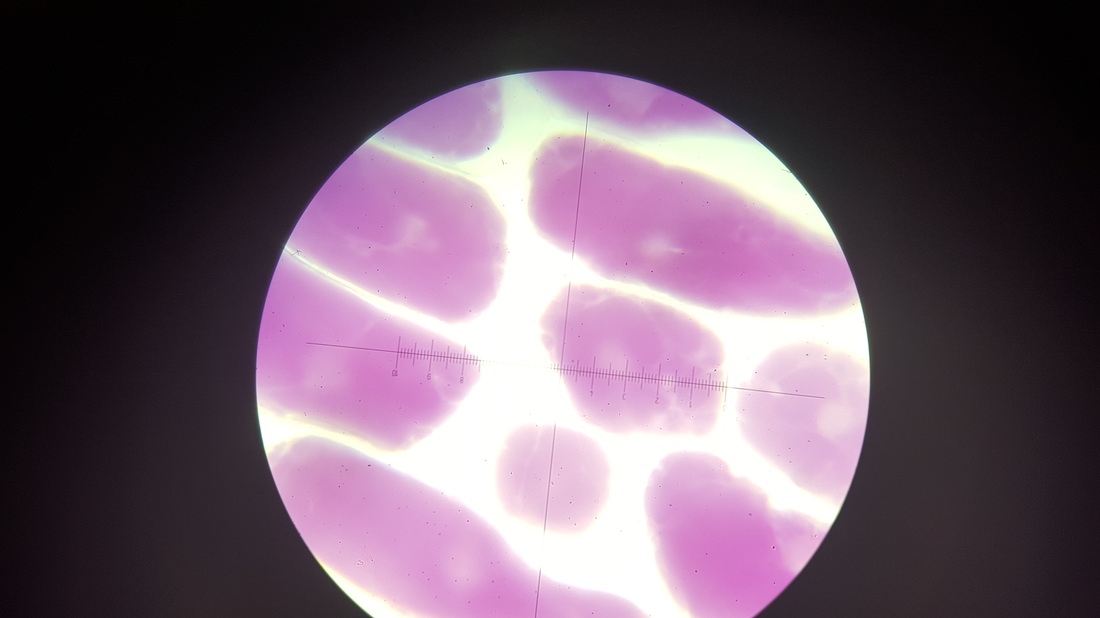
From the microscope you can begin to see the concave shape of the red blood cells. In one picture there are blood clots as the blood had been left for too long. The small purple shapes inbetween the red blood cells are white blood cells.
This an experiment in which we viewed our blood under a microscope, we were able to see the white blood cells and red blood cells
Safety
- Eishman’s solution is caustic and will stain the skin on contact
- To protect yourself wear gloves and safety goggles
- Only prick yourself with a lancet on the tip of your finger
- This is so you don’t get excess bleeding or get a larger cut than is safe
- Single use lancet
- Slide and coverslip
- PH buffer solution
- Eishman’s staining solution
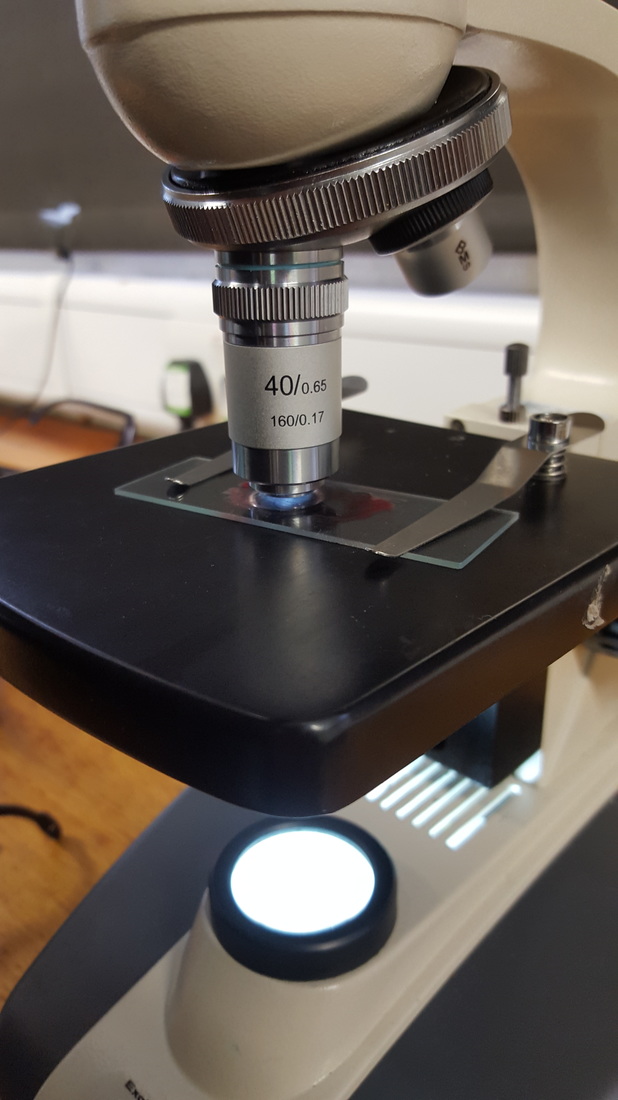
- Microscope
- Prick the tip of your finger with a lancet
- The lancet is single use so that there is not contamination of other people’s blood
- Wipe blood from the prick onto a slide
- Using an instrument, e.g. a slide, smear the blood on the slide so it is one cell thick. This can be done by doing long slow pushes of the blood away from the centre
- Put two drops of Eishman’s solution on the blood staining the blood cells
- Dry the blood using filter paper to soak the excess liquid, apply the buffer solution
- Place on microscope stage and view
From the microscope you can begin to see the concave shape of the red blood cells. In one picture there are blood clots as the blood had been left for too long. The small purple shapes inbetween the red blood cells are white blood cells.